一切の無駄を排除しクリーンにラズパイサーバを構築中です。今日はlighttpdでSSLの設定をしました。私自身lighttpdでSSLは初めてですので、まずは動作確認を目的とした自己証明書(またの名をオレオレ証明書)方式で行きたいと思います(^_^)
まずはSSL用のディレクトリを作成し移動します。
# mkdir /etc/lighttpd/ssl
# cd /etc/lighttpd/ssl
自己証明書を作ります。
# openssl req -new -x509 -keyout raspbian.pem -out raspbian.pem -days 365 -nodes
Generating a 2048 bit RSA private key
…….+++
…………………………………………………………..+++
writing new private key to ‘server.pem’
—–
You are about to be asked to enter information that will be incorporated
into your certificate request.
What you are about to enter is what is called a Distinguished Name or a DN.
There are quite a few fields but you can leave some blank
For some fields there will be a default value,
If you enter ‘.’, the field will be left blank.
—–
Country Name (2 letter code) [AU]:JP(入力)
State or Province Name (full name) [Some-State]:XXX(入力)
Locality Name (eg, city) []:YYY(入力)
Organization Name (eg, company) [Internet Widgits Pty Ltd]:M+WORKS(入力)
Organizational Unit Name (eg, section) []:(無視)
Common Name (e.g. server FQDN or YOUR name) []:192.168.ZZZ.ZZZ(入力)
Email Address []:(無視)
lighttpdの設定を変更します。80番も443番ポートも両方生かしたいので次のように設定しました。
# vi /etc/lighttpd/lighttpd.conf
最終行に追加
# SSL
$SERVER[“socket”] == “192.168.ZZZ.ZZZ:443” {
ssl.engine = “enable”
ssl.pemfile = “/etc/lighttpd/ssl/raspbian.pem”
}
lighttpdを再起動します。
# service lighttpd restart
私の場合はWordPressを使っていますので、WordPress側の設定でURLのhttpをhttpsに変更します。自己証明書のサイト(https://192.168.ZZZ.ZZZ)に接続できるか確認します。ブラウザの安全ではないサイト警告を無視して無事表示できました(^_^)
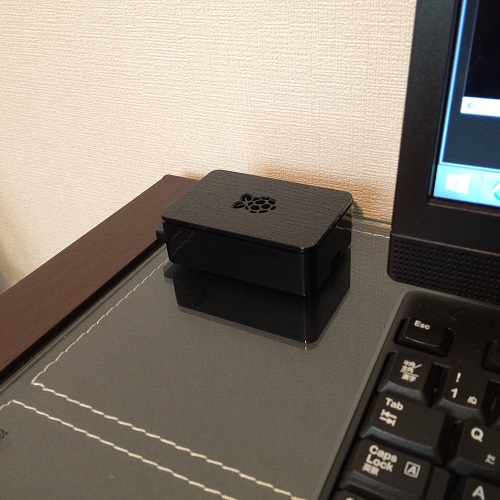
OS焼き直し後、今のところ問題なく稼働中のラズパイ。とは言ってもまだ20時間程度ですが(笑)つづく。
# uptime
13:47:23 up 20:50, 3 users, load average: 0.00, 0.01, 0.05
◆構築環境
Raspberry Pi 2 Model B + 2015-11-21-raspbian-jessie
lighttpd + OpenSSL
今回設定の参考にさせて頂いたサイトです(^_^)